
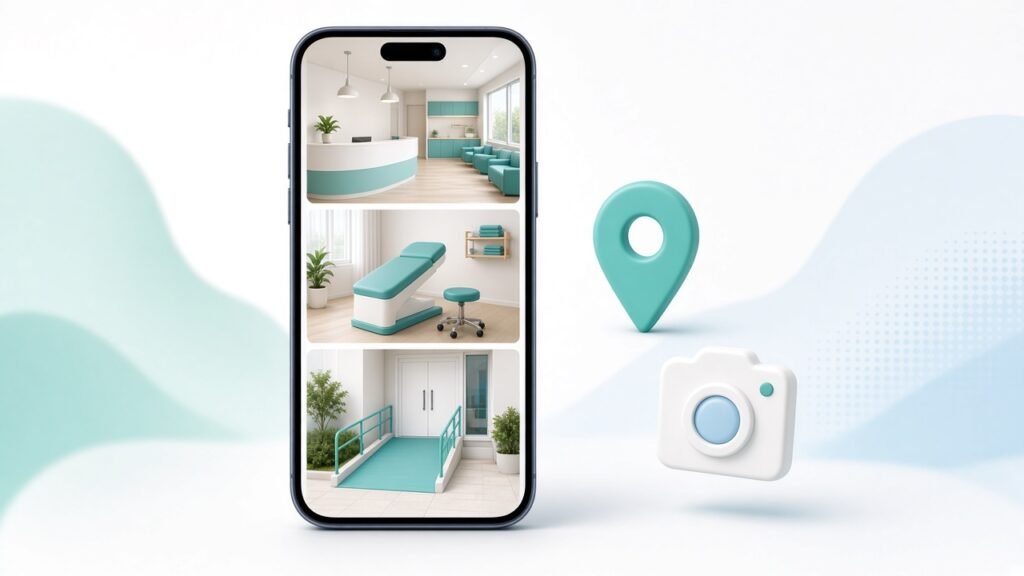
Before a new patient books with your clinic, there’s a good chance they’ve already walked through it. Not in person. On their phone, scrolling through the photos on your Google Business Profile while deciding whether you’re worth the drive.
I think about that a lot, because I’ve seen both sides of it. As a physiotherapist, I know how much effort goes into a clean, safe treatment space. As someone who runs a healthcare marketing studio, I also know how often that effort is invisible online. A dark, blurry photo of a reception desk taken in 2019 doesn’t tell anyone what your clinic is really like.
This post is about Google Business Profile photos for clinics: which ones quietly build trust, and which ones work against you. If you want the full profile setup, from categories to services to posting, that’s covered in our Google Business Profile checklist for clinics. Here, we’re only looking at the pictures.
Why photos matter more for clinics than for most businesses
Booking a physio, dentist or doctor isn’t like picking a café. People are often in pain, a bit anxious, and about to let a stranger examine their body. So they look for small signs that the place is clean, professional and easy to reach.
Photos answer questions patients don’t always ask out loud. Is there parking? Are there stairs? Does the treatment room look private? Will the person I’m seeing look friendly? When your photos answer those questions, the decision feels easier. When they don’t, people tend to keep scrolling to the next clinic on the map.
The photos every clinic profile should have
You don’t need a professional shoot to start. A recent phone, good daylight and ten minutes before opening time will do most of the work. Here’s what I’d add first.
1. The entrance, as a patient sees it
Stand where a patient would stand when they arrive, and take the photo from there. Include the signboard if you have one, the door, and anything nearby that helps people recognise the building. This is probably the most useful photo on your whole profile, because it stops that “am I in the right place?” moment on the street.
If you’re inside a mall, a hospital block or a shared building, add a second photo showing the lift, the corridor or the floor sign. Small detail, big relief for a first-time visitor.
2. Access and parking
This one gets forgotten all the time, and it matters a lot for a clinic. Many of your patients have knee pain, back pain or a recent surgery. Show the ramp, the lift, the handrail or the parking area if you have them. If there are steps, be honest about that too. A patient who knows what to expect is far less likely to cancel on the day.
3. Reception and waiting area
Take this when the space is tidy and calm, ideally with natural light. Clear the desk of loose papers, take down old notices, and move the bin out of the frame. You’re not staging a hotel lobby. You’re showing that this is an organised place where someone will greet them.
4. The treatment rooms
This is where trust really gets built. Show a plinth with clean linen, the equipment you actually use, and enough of the room to show privacy. If you have a gym or rehab area, add that as well, because it tells people you do more than hand out a sheet of exercises.
One tip: shoot from the doorway at chest height, not from a corner on the floor. It looks more natural and closer to what the patient will see when they walk in.
5. Your team, with their permission
People book people. A simple, friendly photo of you and your team in uniform does more than any slogan. Keep it relaxed. A group photo in the reception area, or each clinician standing next to a plinth, works well.
Always ask your staff before posting their photo, and if anyone left the clinic, replace or remove their picture. An outdated team photo can confuse patients who ask for someone who isn’t there anymore.
6. A few “working” photos, without patients’ faces
If you want to show treatment in action, use a team member as the model, or photograph hands and equipment rather than faces. Never post a patient’s photo without clear written consent, and even then think twice. Rules on patient images vary by country and profession, so check your own regulator’s guidance before you post anything that shows a patient.
The photos that quietly weaken trust
Some photos do more harm than having no photo at all. Here are the ones I’d remove or replace first.
- Old photos from before a renovation. If the clinic looks different now, the old pictures make you look out of date, or worse, make people wonder if they’ve found the right place.
- Dark, blurry or tilted shots. Patients connect image quality with care quality, whether that’s fair or not.
- Generic stock images. A smiling model in a white coat who clearly isn’t on your team feels fake. Your profile is the one place people expect to see the real thing.
- Cluttered rooms. Boxes in the corner, a messy desk, cables on the floor. These are tiny things in daily life, but in a photo they read as “not cared for”.
- Text-heavy flyers and offer posters. A photo of a printed discount flyer isn’t a clinic photo. Keep promotions for posts, and keep your photo gallery about the space and the people.
- Before-and-after images of patients. These can raise real compliance issues in healthcare advertising. Leave them out unless your regulator clearly allows them and you have proper consent.
A simple way to plan your photo session
Here’s the routine I’d suggest for a clinic doing this for the first time. It takes about an hour, including tidying.
- Pick a morning before your first appointment, when the light is good and the clinic is empty.
- Clean and clear every room you plan to photograph. Open the blinds and switch on all the lights.
- Walk the patient route from the street to the treatment room, and take photos at each step: outside, entrance, reception, corridor, room.
- Take the team photo last, once everyone has arrived and is in uniform.
- Shoot in landscape. Keep the phone level, and don’t use heavy filters. You want the photos to look like the real place.
- Pick your best ten to fifteen photos. More isn’t always better if half of them look the same.
- Upload them to your Google Business Profile, and set a good logo and cover photo while you’re there.
After that, add a fresh photo every month or two. New equipment, a seasonal clean, a new team member. A profile that keeps changing looks like a clinic that’s active and looked after.
Small details that make a difference
A few more things I’ve learned from looking at a lot of clinic profiles:
- Name your image files with plain words before uploading, like “physiotherapy-clinic-reception”. It keeps your own files organised and costs nothing.
- Keep your cover photo simple. The entrance or a bright treatment room usually works better than a busy collage.
- Check what patients have uploaded. Google lets the public add photos to your profile. If someone uploads something misleading or inappropriate, you can report it through Google.
- Match your photos to your website. If your website and your Maps profile look like two different clinics, people notice.
Where photos fit into the bigger picture
Good photos won’t fix a profile with the wrong category, no reviews and an old phone number. But they’re one of the easiest wins you’ll get, and they make every other part of your profile work harder. Think of them as the first impression before the first impression.
At Rehabitize, Google Maps visibility is one part of our Healthcare Brand Growth System, alongside patient education content and simple ways to turn interest into bookings. If you’d like to tighten up the rest of your profile too, read our Google Business Profile checklist for clinics next.
Take your first photo this week
You don’t need to do everything at once. Start with the entrance and one treatment room. Upload them, look at your profile on your phone like a patient would, and ask yourself one question: would I feel comfortable walking in here?
If you want a simple, practical plan for your clinic’s online presence, download our Free Marketing Blueprint. And if you’d rather have help with your Google profile, content and patient education videos, get in touch with us here.
Dr. Lakshay Sharma PT